Teaching the types of chemical bonding can feel like one of those topics for which lecture is unavoidable. Ionic, covalent, and metallic bonding each introduce and require new vocabulary and new models. As teachers, we’re really good at organizing all of it, simplifying it, and telling students what they need to know.
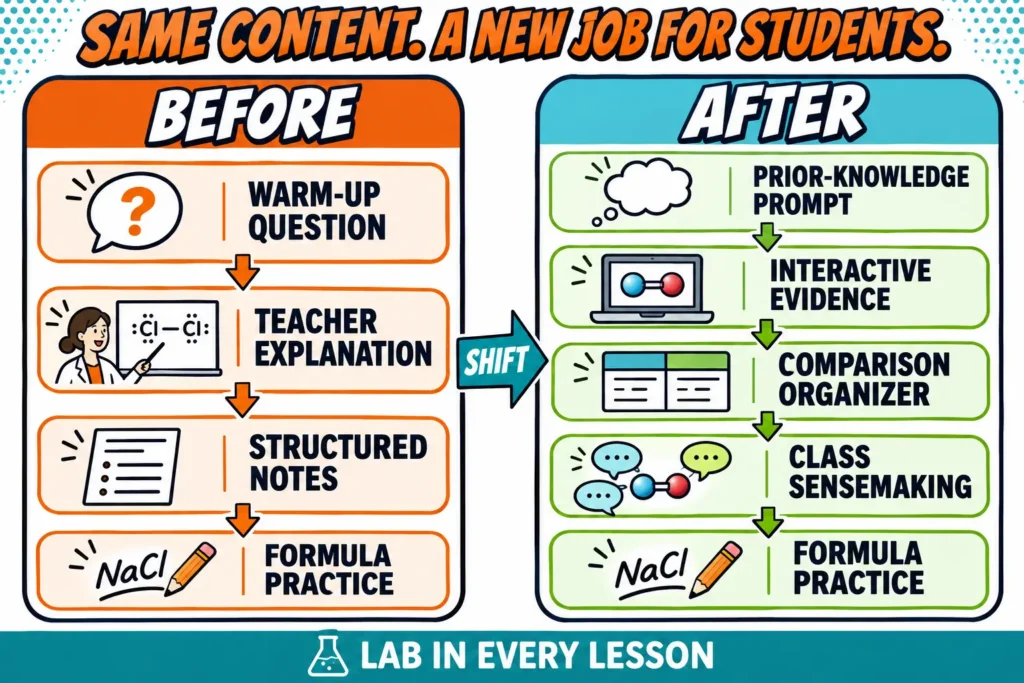
That was exactly what I did in my original chemical bonding lesson. The information was carefully chunked, and I provided a clear, structured graphic organizer for students to record their notes from my lecture. It wasn’t a bad lesson, but students could only listen passively; I was doing all the cognitive work!
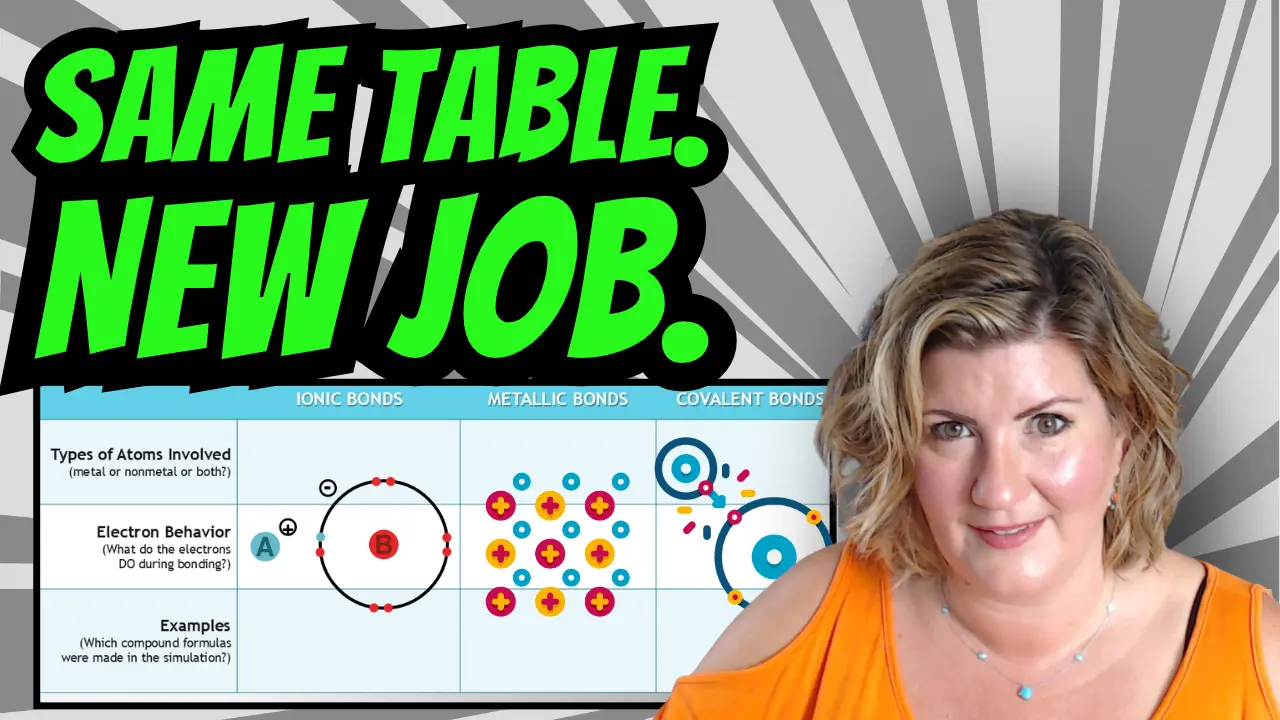
When I redesigned it, I didn’t throw away the structure that made the content accessible. All I did was change what students were responsible for doing. Instead of listening to me describe the three types of chemical bonding, students were required to use an interactive model to gather evidence, compare what happens to valence electrons, record examples and connect those patterns to what they already know about the periodic table.
The result was a guided-inquiry chemical bonding activity that still gives students the support they need but makes them active participants who are able to work at their own pace.
Table of Contents
- Why Teach the Three Types of Chemical Bonding with One Activity?
- How I Turned a Chemical Bonding Lesson Into an Active Investigation
- Start the Chemical Bonding Activity With Periodic Trends
- An Interactive Model in the Chemical Bonding Activity Makes SEP’s Possible
- Compare Ionic, Covalent, and Metallic Bonding
- Use Cause and Effect to Explain Chemical Bonding Patterns
- When to Use a Chemical Bonding Worksheet
- Use Technology to Deliver the Complete Lesson
- Choose Your Next Step
Why Teach the Three Types of Chemical Bonding with One Activity?
I teach ionic, covalent, and metallic bonding together because the comparison is a part of the learning. Students aren’t just collecting three separate definitions and applying them in a chemical bonding worksheet. They’re looking for patterns to differentiate each type of bonding according to which elements participate, what happens to the valence electrons in the bonding process, and what kind of structure results.
Across the lesson, students compare:
- the types of elements involved
- whether valence electrons are transferred, shared, or delocalized
- how the resulting particles or atoms are held together
- how the type of bonding can be predicted from a chemical formula
Putting the three types of chemical bonding into one graphic organizer makes these similarities and differences visible. It also keeps the lesson connected to the periodic table. Metals and nonmetals don’t bond in arbitrary ways. Their valence-electron arrangements and relative tendencies to lose, gain, or share electrons help explain the bonding patterns students observe.
That comparison becomes much harder to see when each type of bonding is taught as a separate set of notes on a separate day.
How I Turned a Chemical Bonding Lesson Into an Active Investigation
My original lesson was built around a structured graphic organizer on which students would take notes, not unlike any other lecture given by other high school chemistry teachers! In it, I showed models, explained how electrons behaved each model represented, and demonstrated the process of attraction between the elemental parts.
My students only had to write it all down and commit it to memory. I worked so much harder than they did!
While chunking a lecture can make information easier to process, lecture itself introduces only core ideas. Students’ perceived success relies upon their ability to only recall the information. It doesn’t allow them the opportunity to evaluate the models themselves to construct meaning.
Start the Chemical Bonding Activity With Periodic Trends
The new lesson begins before students ever open the interactive. The warm-up asks them to return to something they’ve already learned: how strongly different atoms hold their valence electrons.
Students choose:
- an element that loses a valence electron relatively easily
- an element that requires much more energy to remove a valence electron
- evidence from the periodic table that supports each choice
This isn’t review for the sake of review. It prepares students to explain why particular combinations of elements behave differently when another atom enters the picture. A Group 1 metal can lose one electron and reach a more stable valence arrangement. A halogen is much more likely to gain or share an electron than to surrender seven.
Now students have a reason to bring periodic trends into the bonding lesson. Ionization energy is no longer a pattern they described on a previous assignment. It becomes evidence they can use to explain why electron transfer is likely in one pairing while electron sharing is more likely in another.
An Interactive Model in the Chemical Bonding Activity Makes SEP’s Possible
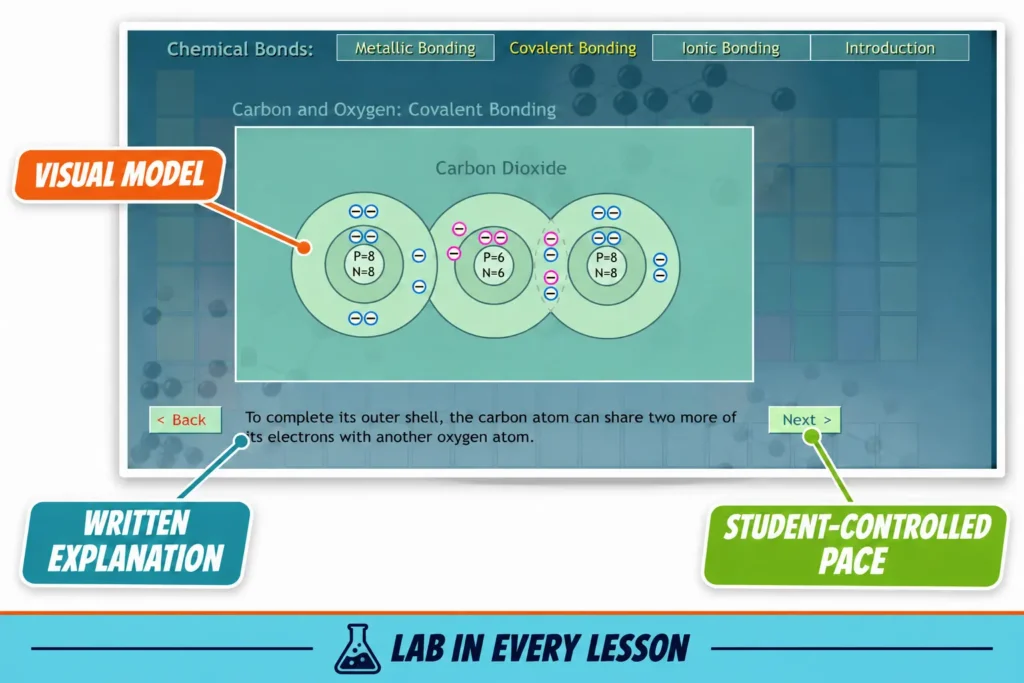
Students then use an interactive periodic table and bonding tutorial to investigate ionic, covalent, and metallic bonding. Each section combines an animation with a written explanation, so students can watch what happens to the electrons and read a description of the same process.
That combination matters in chemistry. We constantly ask students to reason about particles they can’t see. A useful chemical bonding simulation doesn’t simply reveal the correct vocabulary when students click a button. It makes an otherwise invisible behavior available for observation.
When I evaluate an interactive chemical bonding activity, I’m looking for a tool that:
- shows the movement, sharing, or delocalization of valence electrons
- connects each model to the elements’ locations on the periodic table
- includes enough text to clarify what the animation represents
- allows students to control the pace
- gives students evidence they can record, compare, and use later
Though this interactive tool is more tutorial than investigation, the inquiry comes from what students are asked to do with the information. Here, they extract evidence from the models and use it to build a comparison of the three bonding types. As their task pertains to the science and engineering practices (SEPs) in a 3-dimensional science teaching approach, it best reflects collecting, evaluating, and communicating information.
Compare Ionic, Covalent, and Metallic Bonds in One Chemical Bonding Activity
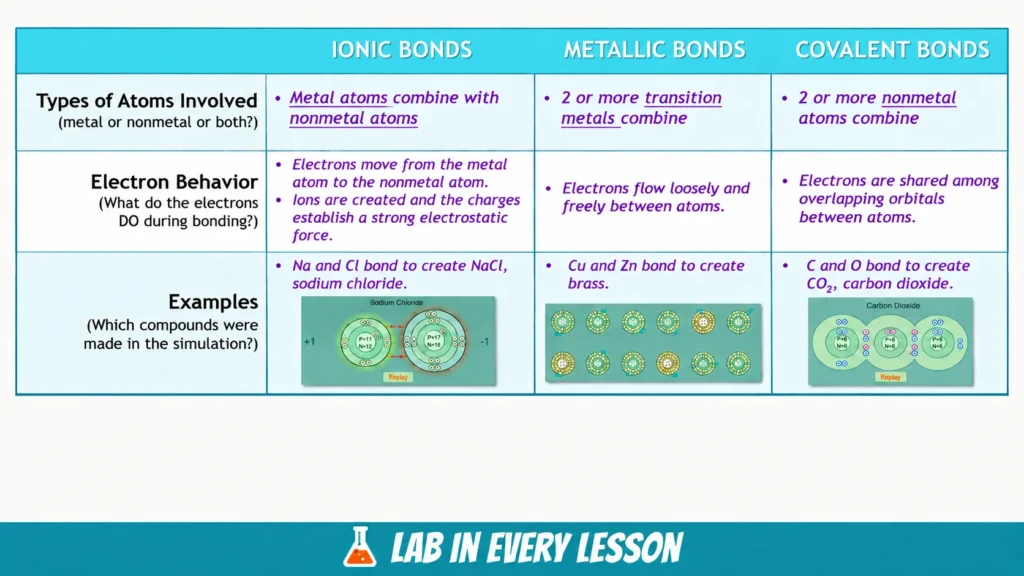
As students move through the interactive, they record what they observe in a graphic organizer. The organizer is structured because the comparison is complex. Students aren’t asked to face a blank page and somehow decide which details matter.
For each type of bonding, they identify:
- the elements involved
- the behavior of the valence electrons
- the particles or structures produced
- a model or example that represents a compound created from that type of bonding
Those supports narrow the scope of the task without completing the comparison for students. Students still have to interpret each animation, decide what evidence belongs in each category, and recognize what changes from one bonding type to another.
This is guided inquiry. The lesson design is intentional about ensuring they use models and information to explain how the types of chemical bonding differ without them having to write word-for-word an essay about each one.
Use Cause and Effect to Explain Chemical Bonding Patterns
The deepest thinking happens after students have gathered the information and reviewed it. At that point we return to the warm-up and connect ionization energy to explain why we observe different electron behavior between various pairs of different atoms.
How do an atom’s valence-electron arrangement and its relative tendency to lose or attract electrons influence what happens when it encounters another atom?
This is where the lesson moves beyond identifying three types of chemical bonding and into the crosscutting concept of cause and effect or even structure and function.
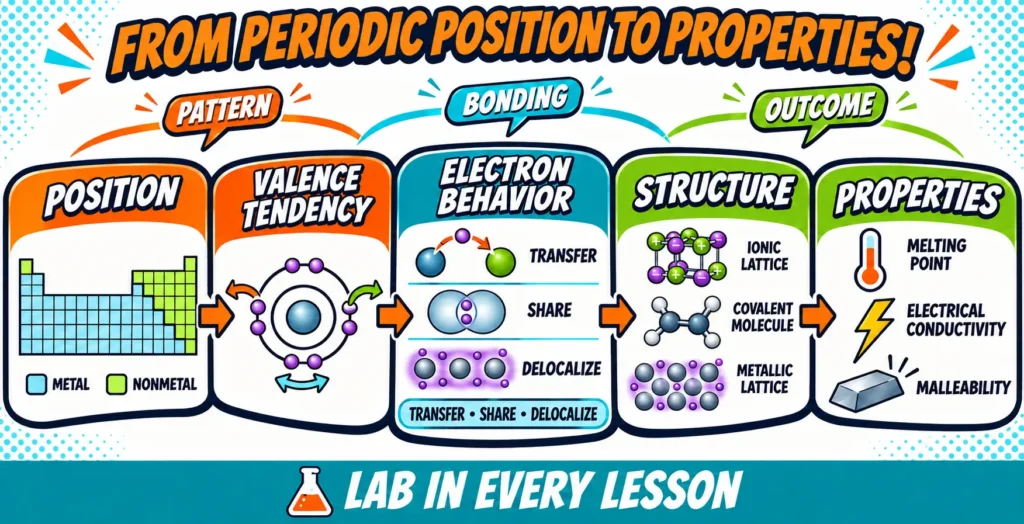
The cause-and-effect chain becomes visible:
- Atomic structure influences valence-electron behavior.
- Valence-electron behavior helps determine how atoms interact.
- Those interactions produce different bonding models and structures.
- EVENTUALLY: The bonding and structure contribute to the properties of the resulting substance.
This is precisely why I don’t want my instruction of periodic trends to remain a collection of arrows students memorize on the periodic table. The trends become useful when students can apply them to predict and explain another chemical pattern.
It also changes the purpose of the final class discussion. We aren’t simply confirming that ionic bonding transfers electrons and covalent bonding shares them. We’re connecting the evidence across the lesson and formalizing an explanation students have already begun to build.
A Chemical Bonding Worksheet Works Better After Students Find the Pattern
I’m not opposed to chemical bonding worksheets. Students eventually need enough practice to look at a formula, identify the kinds of elements present, and classify the bonding accurately. Repetition can absolutely build fluency.
But repetition works best after students understand the pattern they’re repeating. A chemistry chemical bonding worksheet shouldn’t have to create the entire conceptual model while also asking students to practice it. And using only a chemical bonding worksheet without a strong conceptual foundation almost asks students to complete the task just for the sake of doing so.
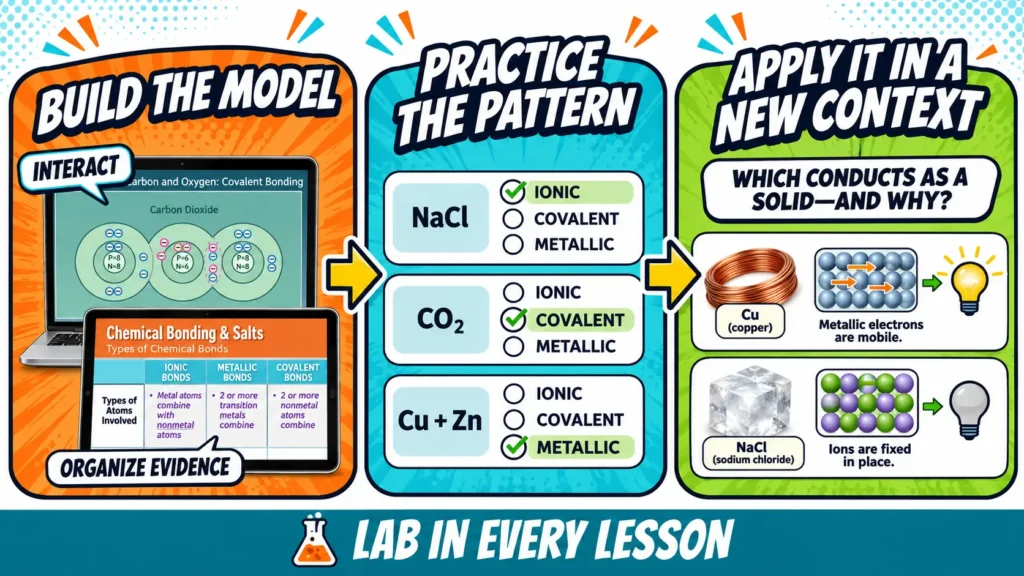
In this lesson, the interactive activity comes first. Students observe what electrons do, compare ionic, covalent, and metallic bonding, and connect those behaviors to patterns within the periodic table. Formula classification is included at the end of this lesson during a skill practice portion of the lesson which also serves as formative assessment for me. In this way, it strengthens an idea students have already built rather than asking them to memorize an isolated rule.
Use Digital Tools to Deliver the Chemical Bonding Activity
The interactive tutorial provides the rich core idea context that makes this kind of guided inquiry possible everyday. But other technology tools can be leveraged to enhance student-centered lesson delivery and frequent feedback.
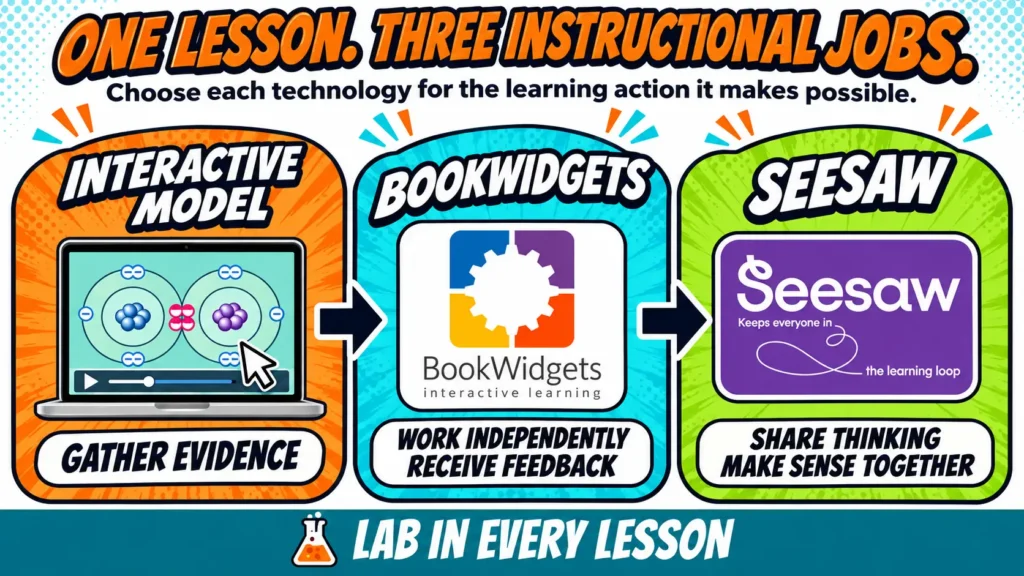
For independent digital delivery, I use BookWidgets to package the entire lesson into one digital notebook that can be shared via link. Using this tool, students can work through the entire lesson at their own pace and selected practice questions can provide immediate feedback with green highlighted text and checkmarks.
During live instruction, though, I often use Seesaw. I can pull anonymous examples from several student submissions and assemble them for a classwide community debrief. In this way, students see that their work contributed to the class explanation even if they weren’t ready or willing to contribute publicly. Over time, that kind of contribution helps build confidence and a safer culture for participation and increased engagement.
When I package and sell my lessons, both of these digital delivery tools are included because – with consistent use – I believe they can best support both teachers and students to be their best in modern secondary science classrooms.
Choose Your Next Step!
You don’t have to redesign every science lesson by yourself or abandon the materials and resources you might already use that work. There are three ways I can help:
Want to teach chemical bonding with this complete inquiry-based lesson?
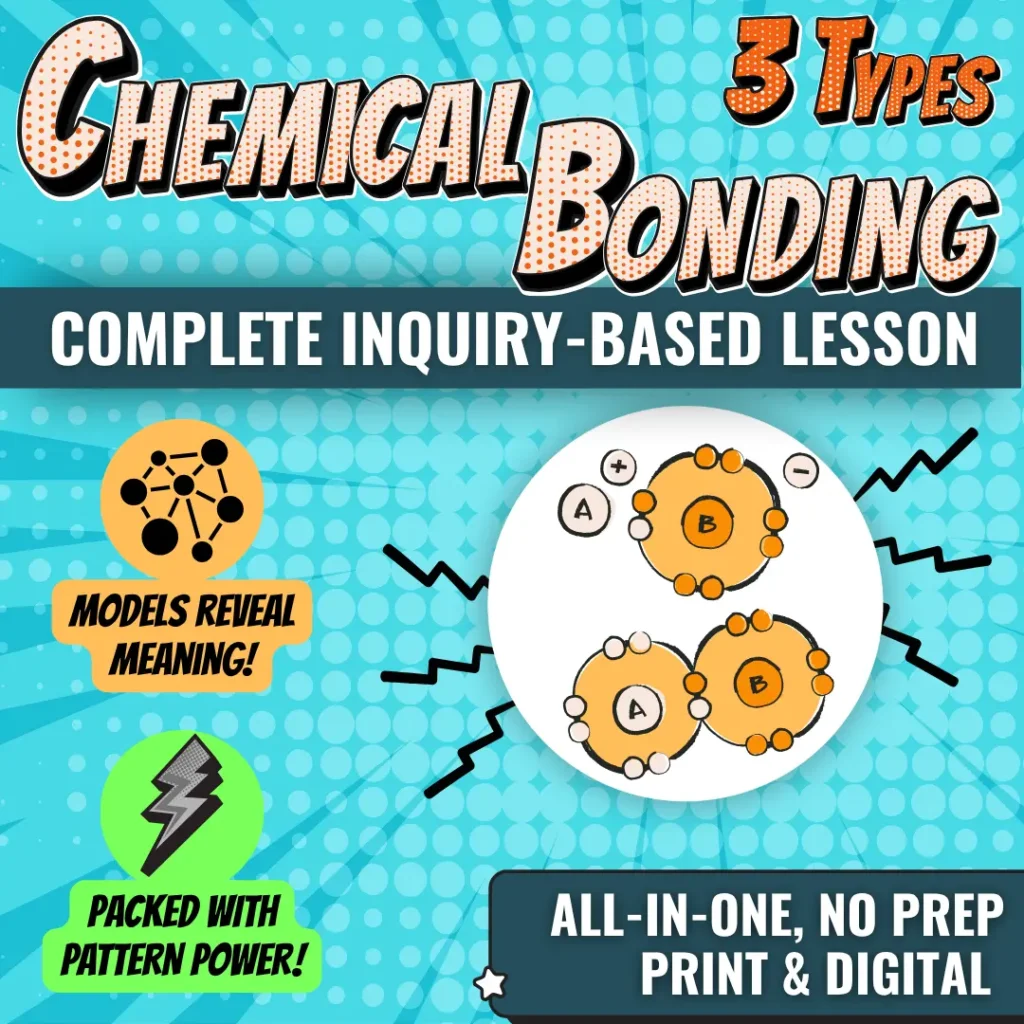
The Types of Chemical Bonding Inquiry-Based Lesson all-in-one package includes:
- Review and Preview designed to activate and integrate prior knowledge with the ionization energy periodic trend
- task instructions and the student artifact so that their observations and ideas are made visible
- data-dependent analysis for teacher-guided sensemaking
- skill practice to ensure transfer and application
- Seesaw teacher activity links for all student tasks slides for digital delivery and streamlined scoring
- the link to share the entire lesson as a webpage style BookWidget
Want an entire chemistry course designed this way?
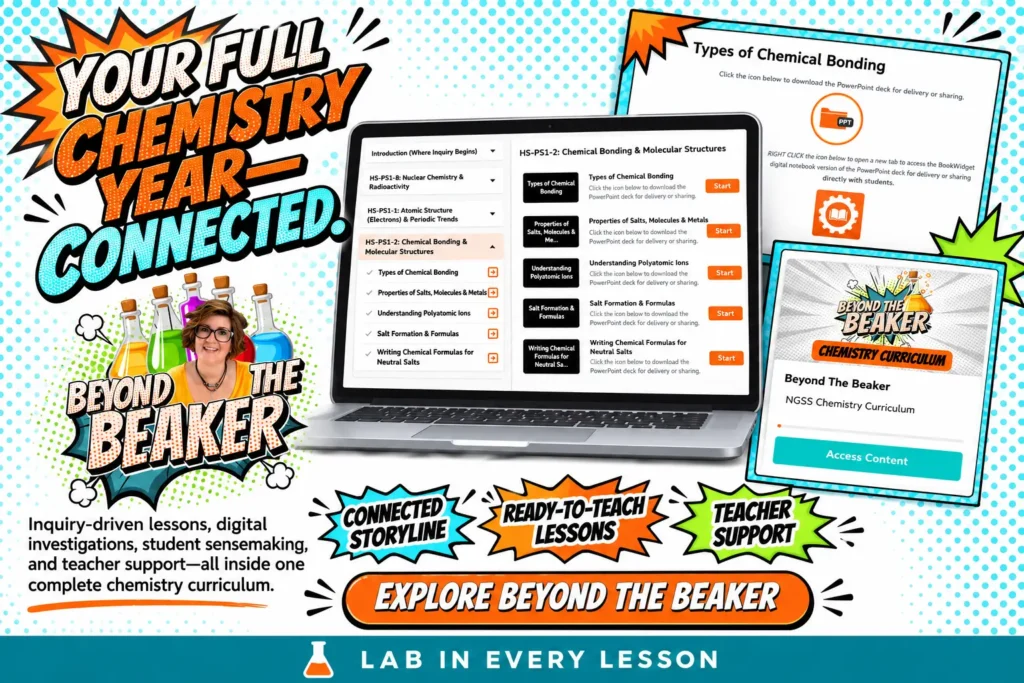
Beyond the Beaker connects atomic structure, periodic trends, bonding, molecular structure, and chemical reactions through a full year of inquiry-based chemistry lessons. Students don’t just receive the explanations. They investigate models, uncover patterns, and use evidence to build them.
Want to learn how to redesign your own science lessons?
Inside the Digital Instructional Design Studio, I’ll help you turn the resources and technology you already have into purposeful, inquiry-based, student-centered learning experiences that will ensure your students are using SEPs and thinking through CCCs everyday. You’ll learn how to choose the right tool, identify the intellectual work students should do, and build the structure that helps them succeed.